
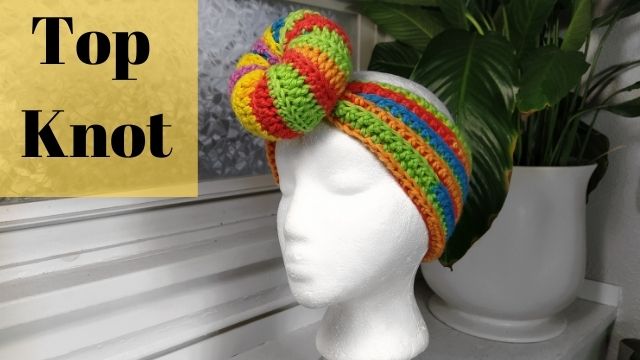
A few months ago, I was looking for a specific crochet headband pattern–one that featured a bun or a knot on top. After looking all over Pinterest, I realized it wasn’t that difficult of a pattern to design myself.
This is the perfect one skein beginner-friendly crochet headband pattern. We will be using half double crochet stitches placed in the black loop. It’s a one-row pattern repeat. You can have this headband done in under an hr. It only took me 30 minutes, but I am a fast crocheter.
About The Yarn
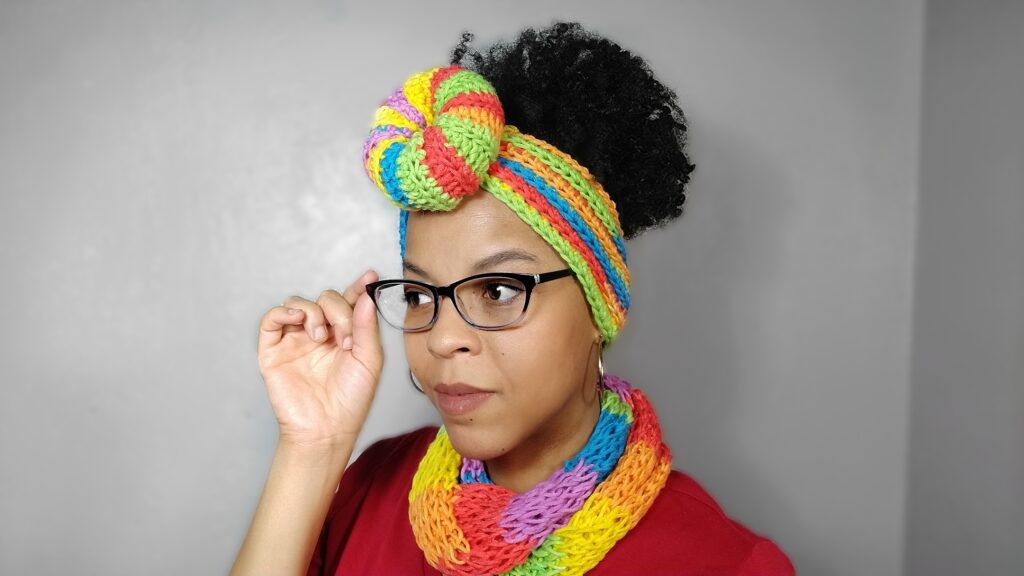
Felici yarn is super soft, machine washable, self-striping yarn. Typically, this yarn is only available in sock yarn, but now they have worsted weight!!! I’m considered color incompetent. Even as an adult, I still have trouble matching my clothes, lol. This yarn does all the work for you.

This is a Superwash Merino at 19.5 microns (layman’s translation: super-duper soft) will appease even the most sensitive of skin, while nylon lends strength and durability. Add machine washability, and you have the perfect yarn for any next-to-skin, everyday accessories, scarves, cowls, hats, or baby clothes. With the heavier weight, your projects will crochet up quicker than ever, leaving more opportunities to play with stripes of every color.
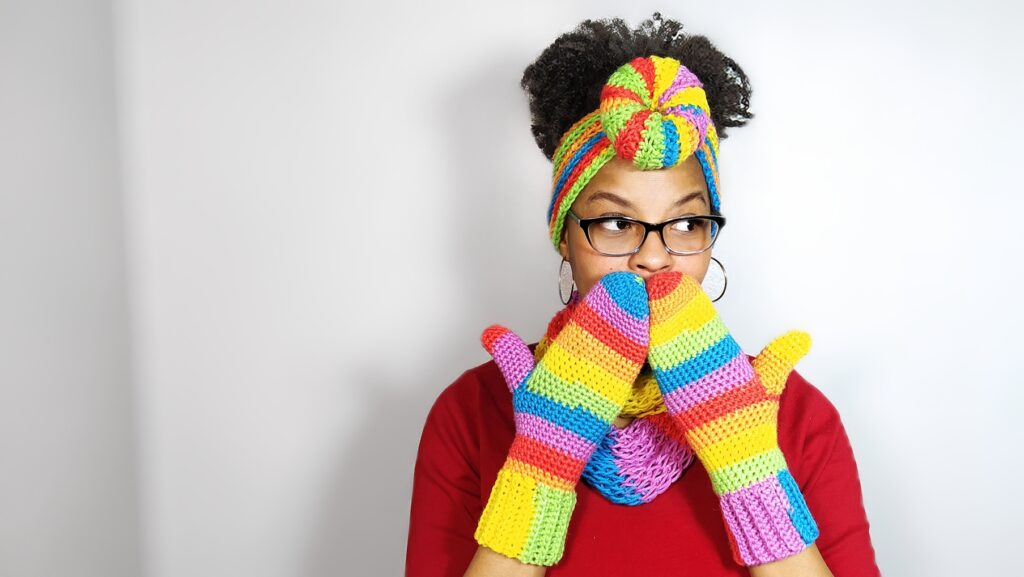
I love this Felici yarn so much, that I made a pair of rainbow mittens to go along with them. 3 mitten sizes. Make a pair for your entire family!
I’m excited to share this tutorial with you! This is my own pattern, and I’m sharing it with you for free– so I’d love it if you could give me credit for my design by directing your friends to this post. Thanks for supporting me and my family!
Written Crochet Headband Pattern
Materials
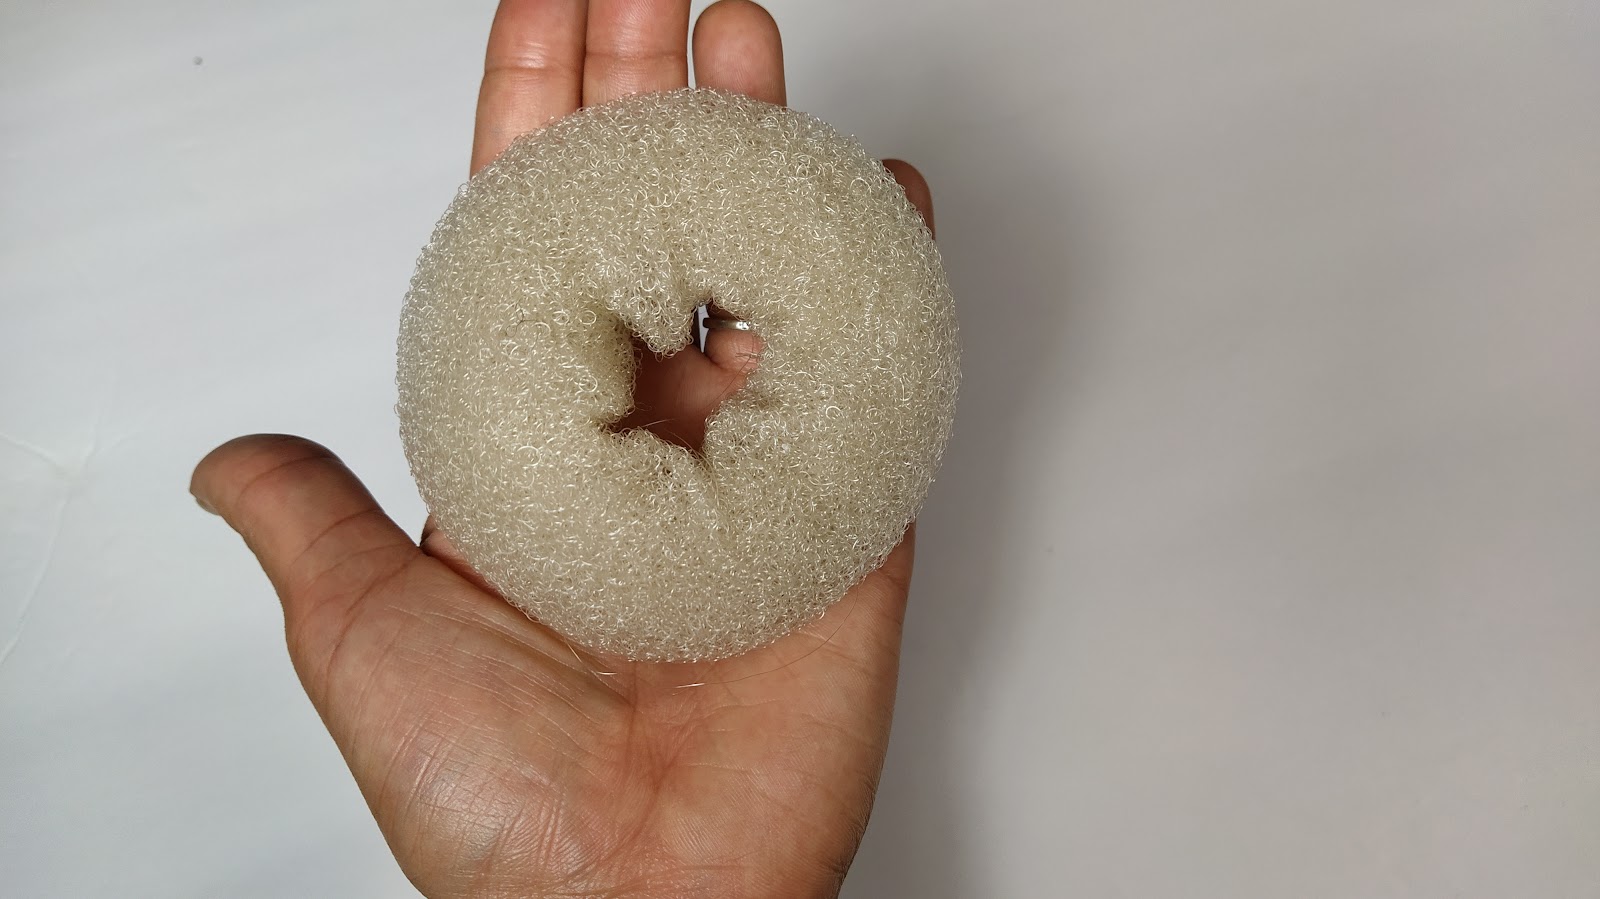
Hair Bun or DIY Bun see video (video 2:50)
Ch 90 (or 28 inches)
Row 1: Hdc in the 2nd ch from the hook, hdc in each st across, turn.
Row 2-10 (or 4 inches): Ch 1, blhdc in each st across, do not fasten off when complete.
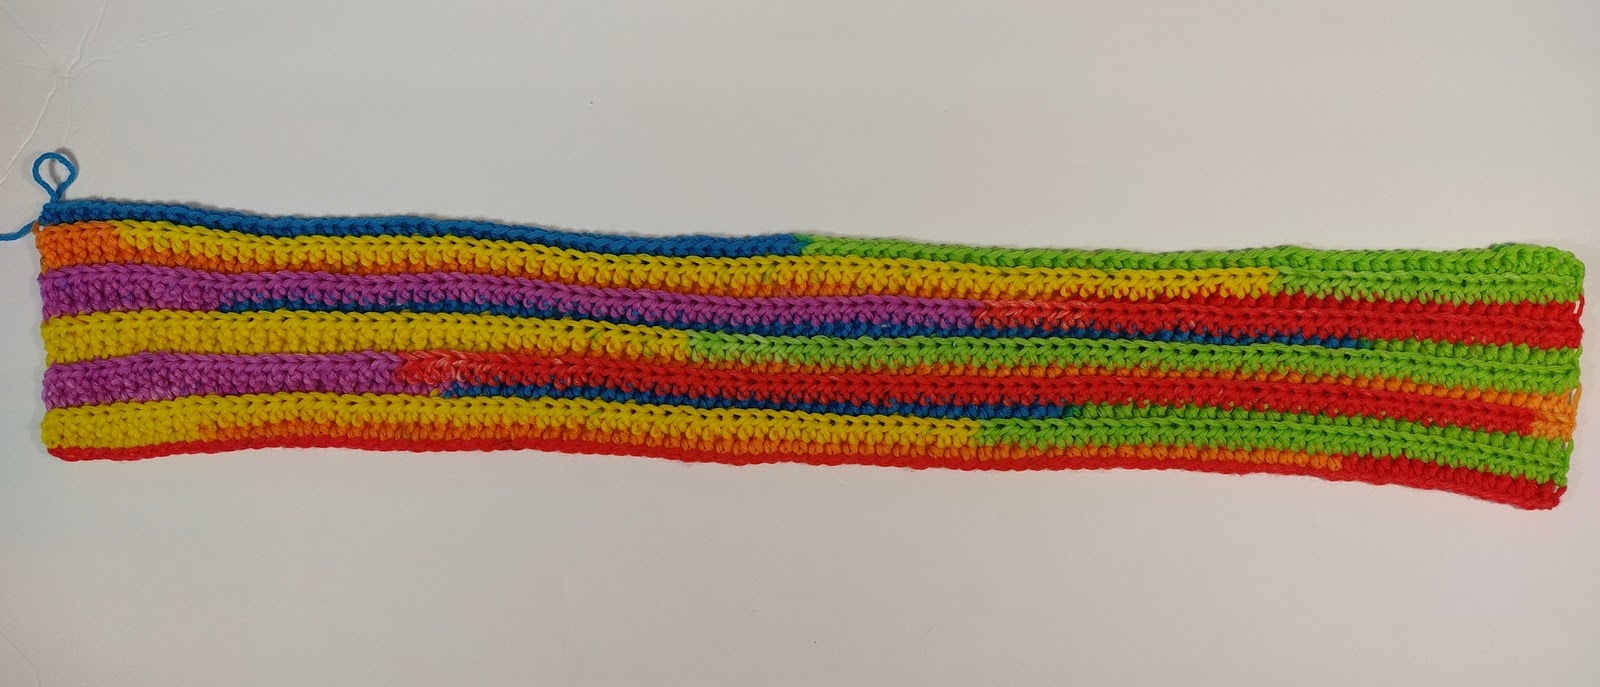
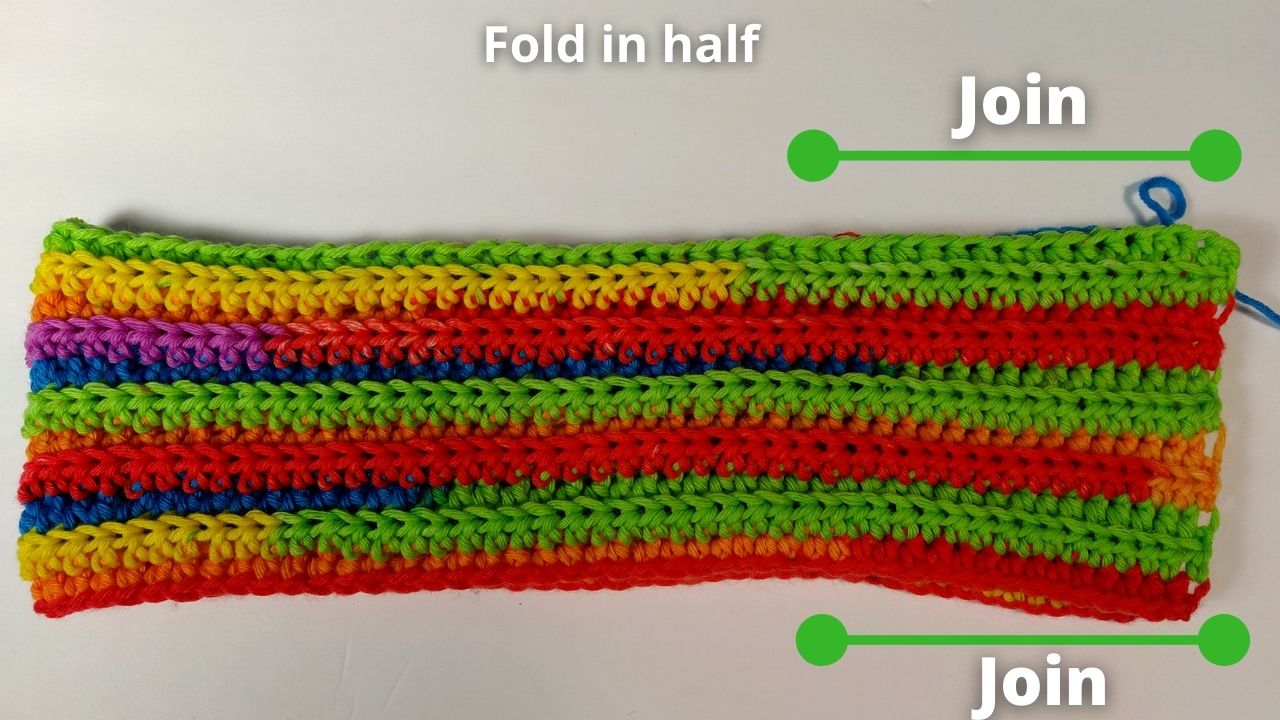
Assembly
Fold the panel in half. Working from the opening inward, holding both sides together, sew close the first 15 sts
Place donut at the opening of the headband. See the image below. Instructions for DIY in video @ 2:50
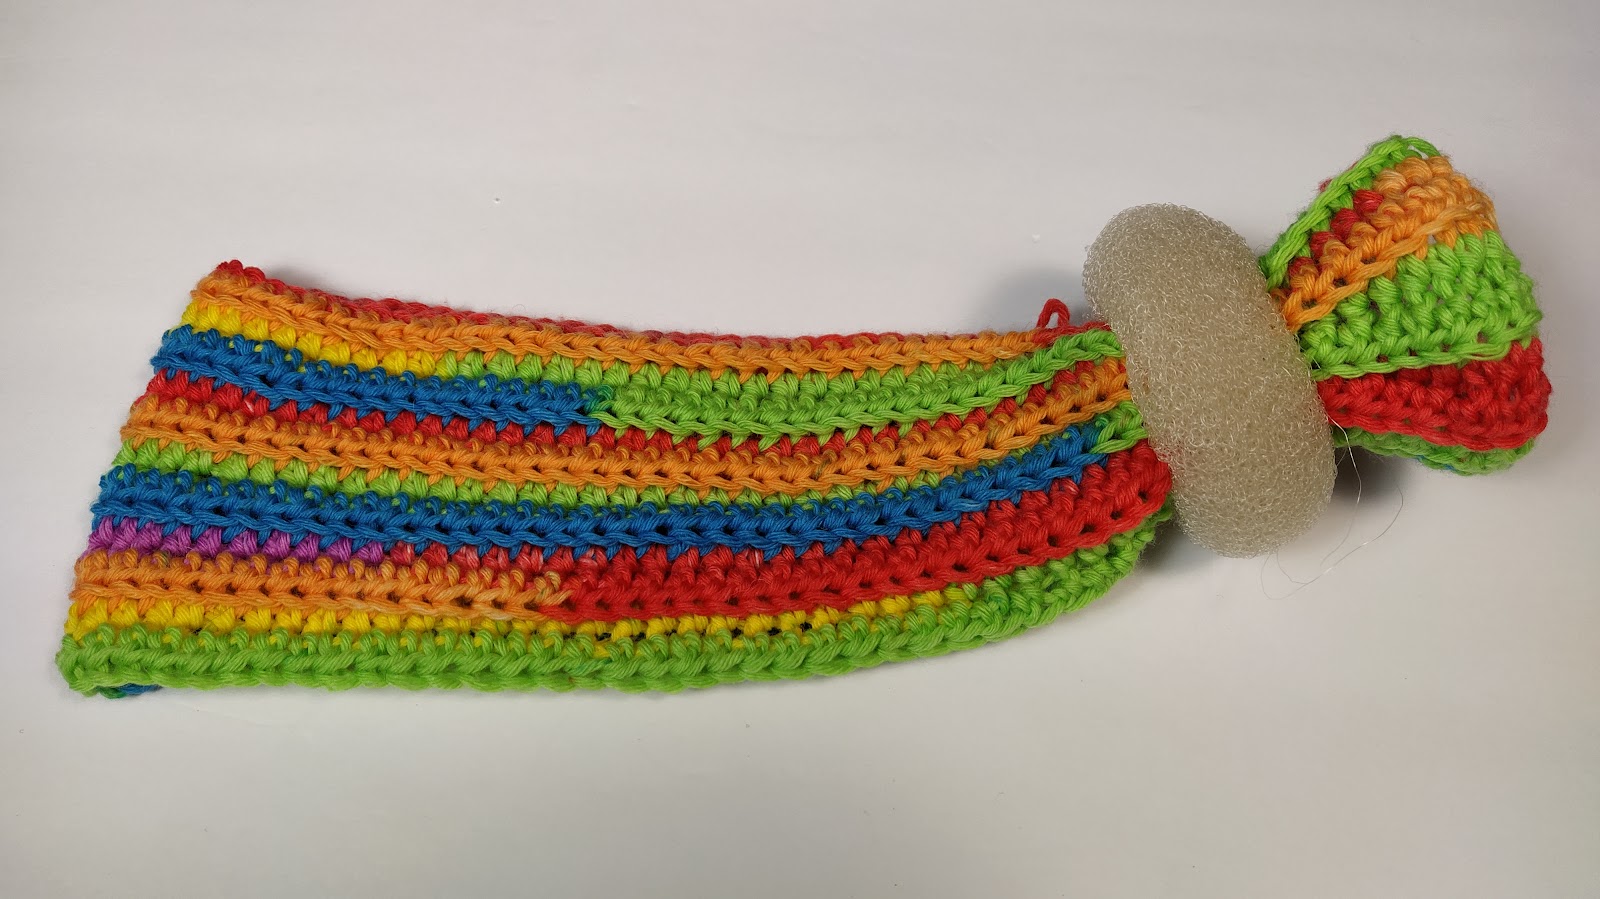

Secure the knot in place with a few stitches. Watch the video tutorial above for a more detailed assembly.
If you enjoyed this crochet headband pattern, then you will love my Braided Crochet Headband Pattern
