
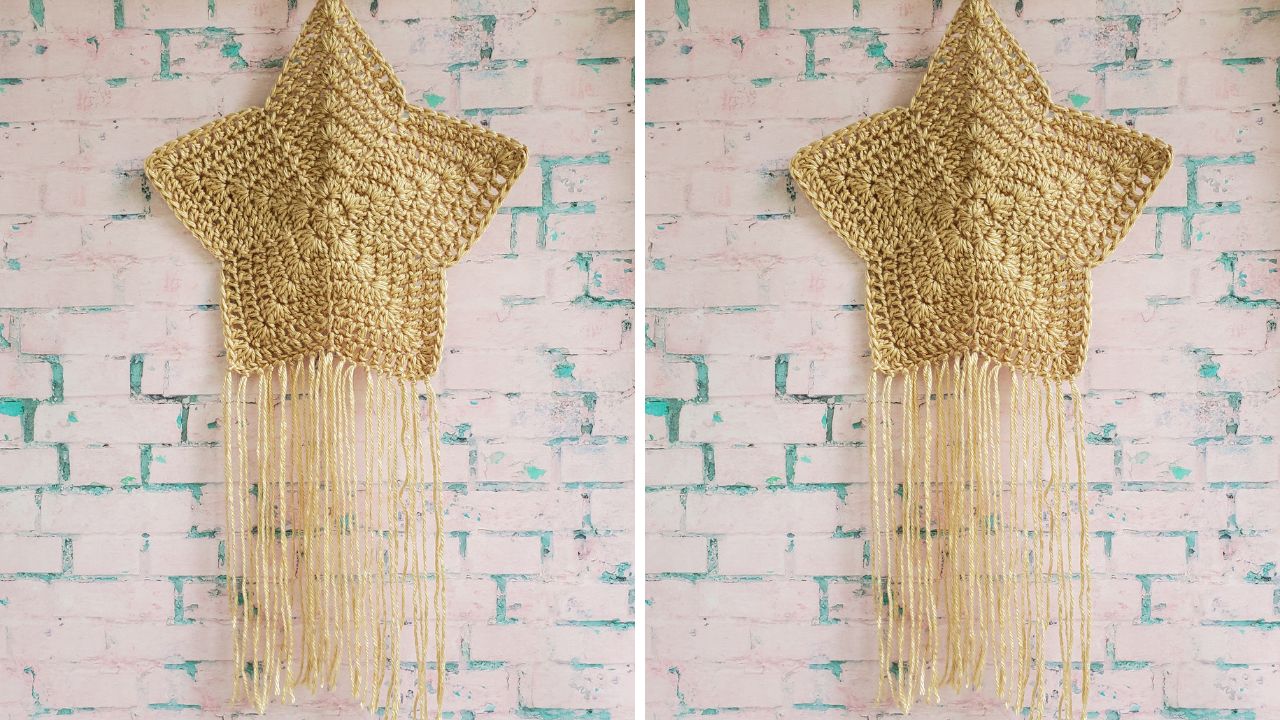
I have been wanting to design a boho crochet wall hanging for a while now. I have a lot of other designs on my plate right now though, so I knew I needed to make something quick and easy. This boho crochet wall hanging starts out with a star shape. It uses a big hook to speed up the process. What do you think of the result?
Boho fringe and an icord hanging loop round this design out nicely and make it look more finished. I think that this boho crochet wall hanging would be a great item to sell at a craft fair or in your Etsy store because it is easy, fast and on trend. The boho aesthetic is super popular right now and it’s not going away anytime soon.
- Get the ad-free, large print, printable PDF pattern HERE. Scroll down for the free version.
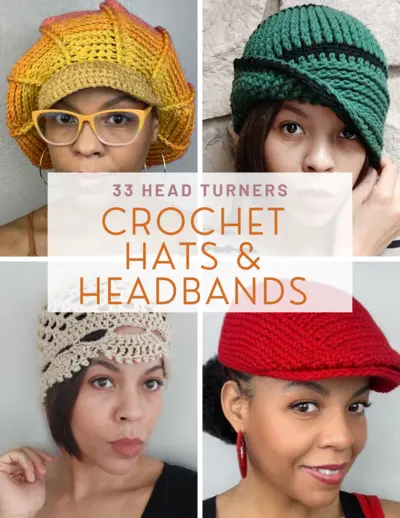
- Grab the Head Turner Bundle that includes 33 patterns HERE.
- Add this pattern to your Ravelry queue HERE.
Boho Crochet Wall Hanging Pattern
Materials
Worsted, size 4, medium yarn
6 mm hook
Skill Level
Intermediate
Finished Measurements
10.5 in. (27 cm) across – not including fringe
Yardage
75 yards (68 meters)
Abbreviations
US Terminology
- ch = chain
- st = stitch
- sk = skip
- sl st = slip stitch
- dc = double crochet
- tc = treble crochet
Notes
- Ch 3 counts as a dc.
- Do not turn after each row.
- You may want to use a stitch marker to keep track of the start of each round.
- Parentheses indicate multiple stitches worked into a single stitch. These are used to make the corners.
- Corners in subsequent rounds will always be worked into the treble crochets from the previous rounds, so keep that in mind.
Star Pattern
Magic Circle
Round 1: ch 3, dc 9 in circle.
Round 2: do not ch, sk the first st, (dc 3, tc, dc 3) in the next st, *sk 1, (dc 3, tc, dc 3) in the next st, repeat from * 3 more times, sl st to the first dc.
Round 3: do not ch, sk the first st, dc in the next 2 stitches, *(dc 2, tc, dc 2) in the next st, dc 2, sk 1, sl st in the next st**, dc 2, repeat from * 3 more times, (dc 2, tc, dc 2) in the next st, dc 2, sk the last st, sl st to the first dc.
Round 4: do not ch, sk the first st, dc in the next 3 stitches, *(dc 2, tc, dc 2) in the next st, dc 3, sk 1, sl st in the next st, dc 3, repeat from * 3 more times, (dc 2, tc, dc 2) in the next st, dc 3, sk the last st, sl st to the first dc.
Round 5: do not ch, sk the first st, dc in the next 4 stitches, *(dc 2, tc, dc 2) in the next st, dc 4, sk 1, sl st in the next st, dc 4, repeat from * 3 more times, (dc 2, tc, dc 2) in the next st, dc 4, sk the last st, sl st to the first dc.
Round 6: do not ch, sk the first st, dc in the next 5 stitches, *(dc 2, tc, dc 2) in the next st, dc 5, sk 1, sl st in the next st, dc 5, repeat from * 3 more times, (dc 2, tc, dc 2) in the next st, dc 5, sk the last st, sl st to the first dc.
Round 7: do not ch, sk the first st, dc in the next 6 stitches, *(dc 2, tc, dc 2) in the next st, dc 6, sk 1, sl st in the next st, dc 6, repeat from * 3 more times, (dc 2, tc, dc 2) in the next st, dc 6, sk the last st, sl st to the first dc.
Round 8: do not ch, sk the first st, dc in the next 7 stitches, *(dc 2, tc, dc 2) in the next st, dc 7, sk 1, sl st in the next st, dc 7, repeat from * 3 more times, (dc 2, tc, dc 2) in the next st, dc 7, sk the last st, sl st to the first dc.
Fasten off.
Fringe
Cut 18 pieces of yarn that are 24” in. long (61 cm)
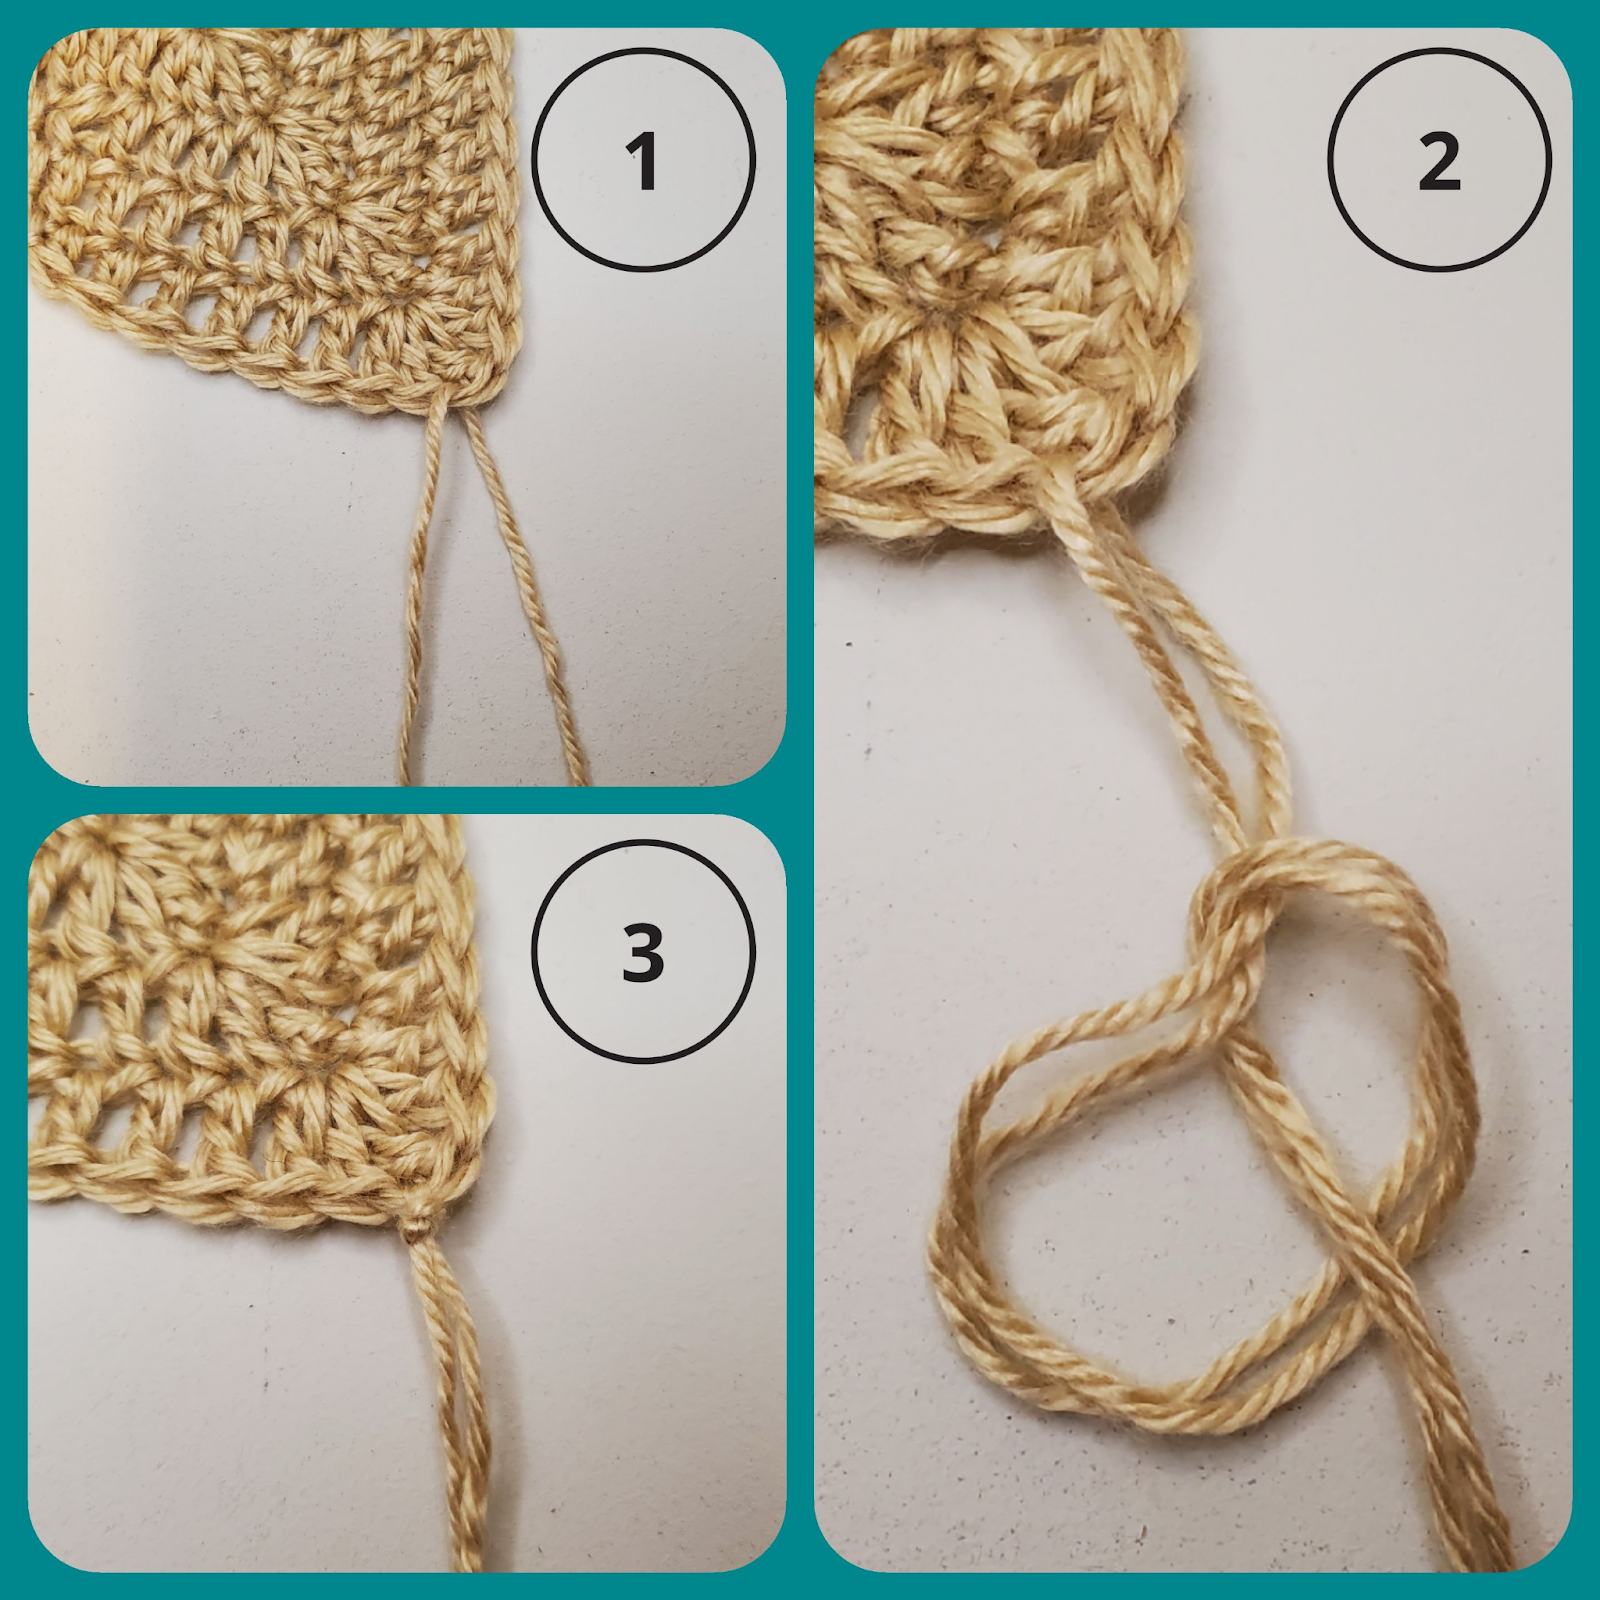
- Take one strand of yarn and pull it through one point of the star. Keep pulling until both halves of the strand of yarn are even with each other.
- Tie the two strands in a knot as shown.
- Pull up on the knot as you tighten it so that it sits snugly against the stitch.
Repeat this process until you run out of yarn strands. You should end up at the next point of your star.
Hanging Loop
We will be making a small length of icord for the hanging loop. It is really easy once you learn how and it looks much more professional than a length of chain stitches or a simple loop of yarn.

- Ch 2
- Insert your hook into the 2nd ch from the hook and pull up a loop.
- Yarn over and pull through the 2nd loop on your hook.
- Drop the 2nd loop from your hook, but don’t let it unravel.
- Yarn over and pull through the loop on your hook.
- Insert your hook back into the 2nd loop so that there are two loops on your hook again.
Repeat steps 3-6 until your icord reaches the desired length. I made mine 12 in. (30 cm) Use your starting and ending yarn tail to attach your hanging loop to the top point of your star.
__________________________
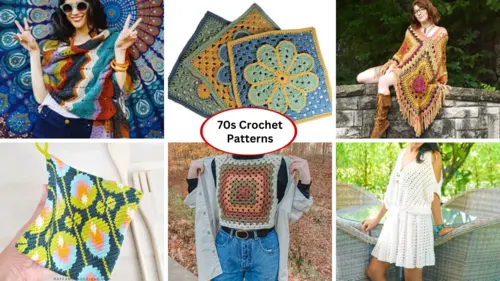
Love this boho crochet pattern? Check out these other sweet 70s-inspired finds!
© 2025 Littlejohn’s Yarn. All rights reserved.
Originally designed by Nine Inspired, this pattern has found a new home with Littlejohn’s Yarn and is shared here with permission.