

Don’t you hate it when your sweater sleeves are just a little bit too short? Clothes are not one size fits all and having sleeves that aren’t quite long enough is a common problem for tall people.
That’s where this crochet wardrobe hack comes in!
This quick and easy tutorial will show you how to add cute and colorful crochet sleeve extenders into your sweater sleeves to make them longer.
Use up some yarn scraps and make an old sweater feel new again while you’re at it!
Materials
Worsted, size 4, medium weight yarn in 3 colors of your choice
5 mm hook
Sewing Needle & Thread or Sewing Machine
Sewing Pins or Clips
Skill Level
Intermediate
Abbreviations
US Terminology
- ch = chain
- st = stitch
- sk = skip
- sl st = slip stitch
- sc = single crochet
- dc = double crochet
Sleeve Insert (Make 2)
Starting with the color of your choice, ch a multiple of 3 (I did 54 chs. Your number of chs will depend on the width around your sleeve) and sl st to the 1st ch to make a loop.
Round 1: Ch 1, sc in the first st and each st around, sl st to join to the first st. (54)
Round 2: Ch 3 (counts as a stitch here and throughout), 2 dc in the first st, sk the next 2 sts, *3 dc in the next st, sk the next 2 sts, repeat from * around, sl st to the first st to join. Fasten off. (54)
Round 3: Attach your 2nd color of yarn in the space between any 2 groups of 3 dc’s. Ch 3, 2 dc in the same space, *3 dc in the next space, repeat from * around, sl st to the first st to join. Fasten Off.
Round 4: Repeat round 3 with the 3rd color of yarn but don’t fasten off.
Round 5: Ch 1, sc in the first st and in each st around, sl st to join to the first st. Fasten off.
Attaching
Step 1: Put your sweater on and mark where you want to put your sleeve insert. I marked one arm while wearing it, took it off, folded it to line the arms up, and then I marked the other arm.
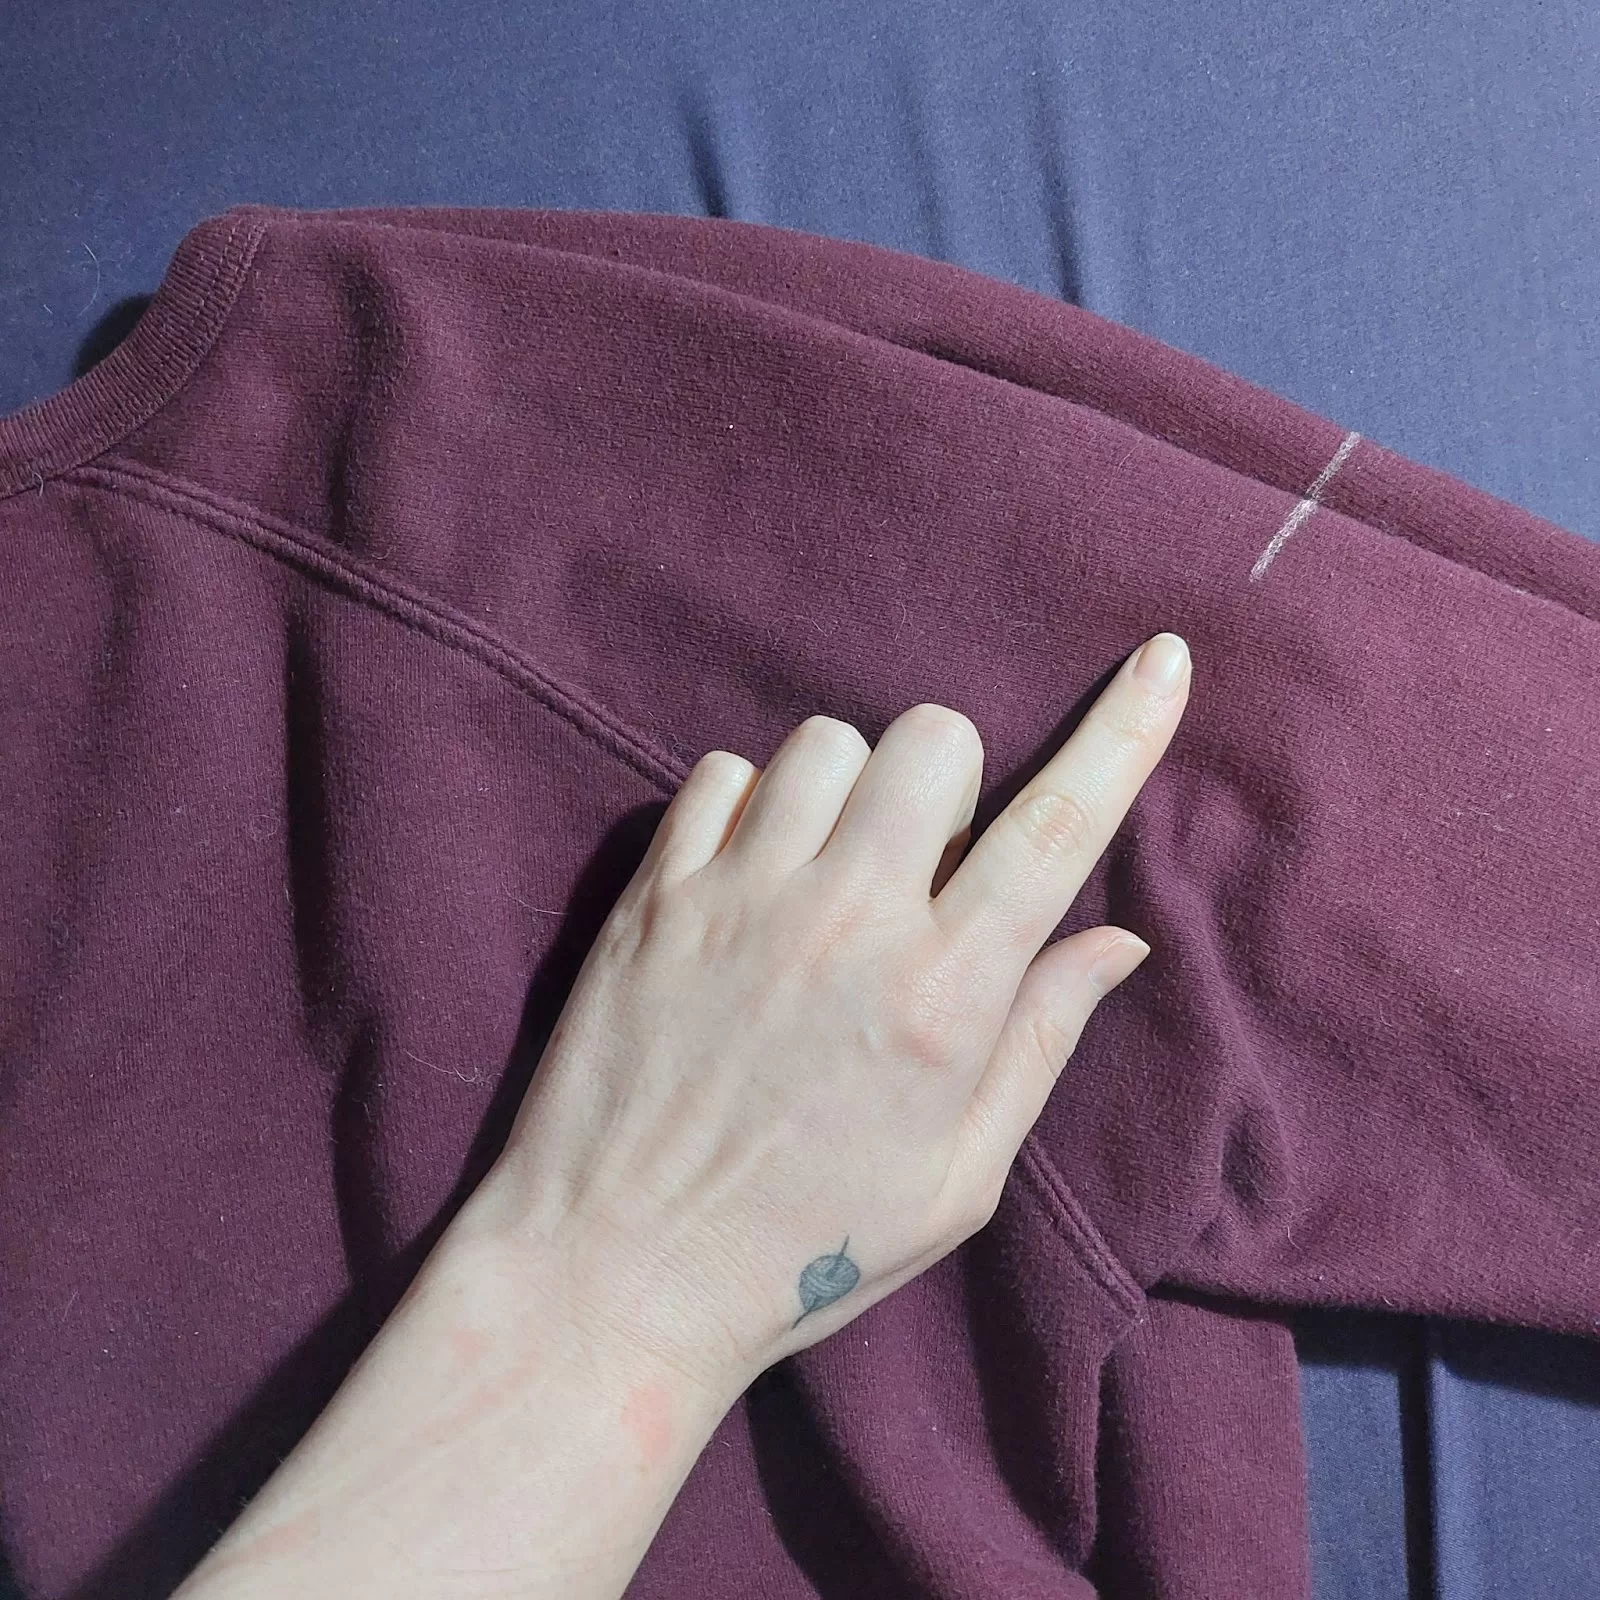
Step 2: Lay the sweater flat with the arms outstretched and cut the sleeves straight across where you have marked.
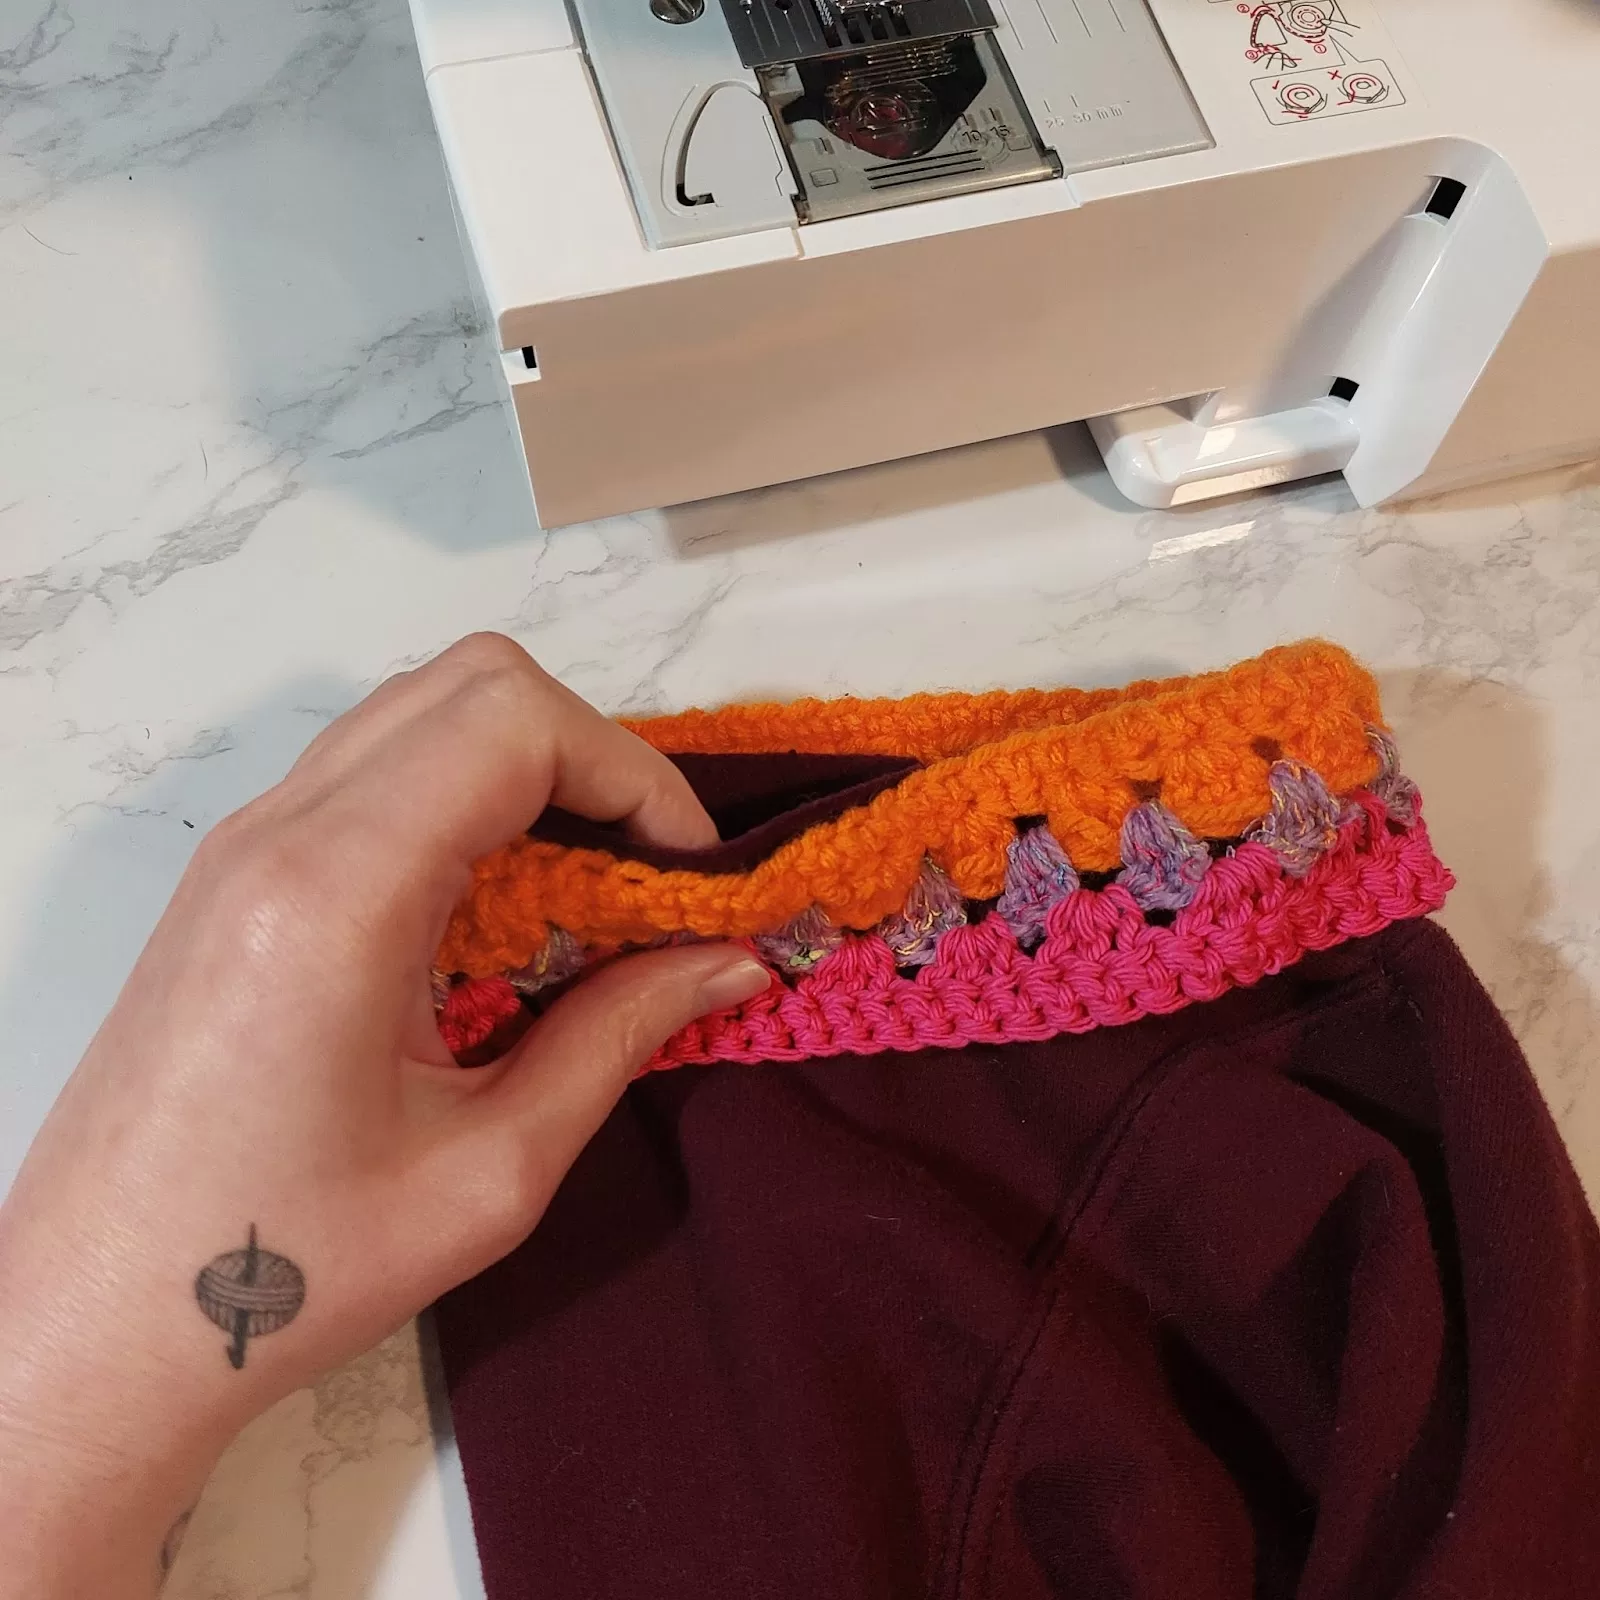
Step 3: Position the sleeve insert around the upper arm opening on the sweater. The wrong side of the crochet should be facing out and the sweater itself should be right side out. Pin the two pieces together and sew around.
Step 4: Unfold the crochet piece from the upper arm opening. You should see the right side of both the crochet and the sweater. You shouldn’t be able to see your stitches.
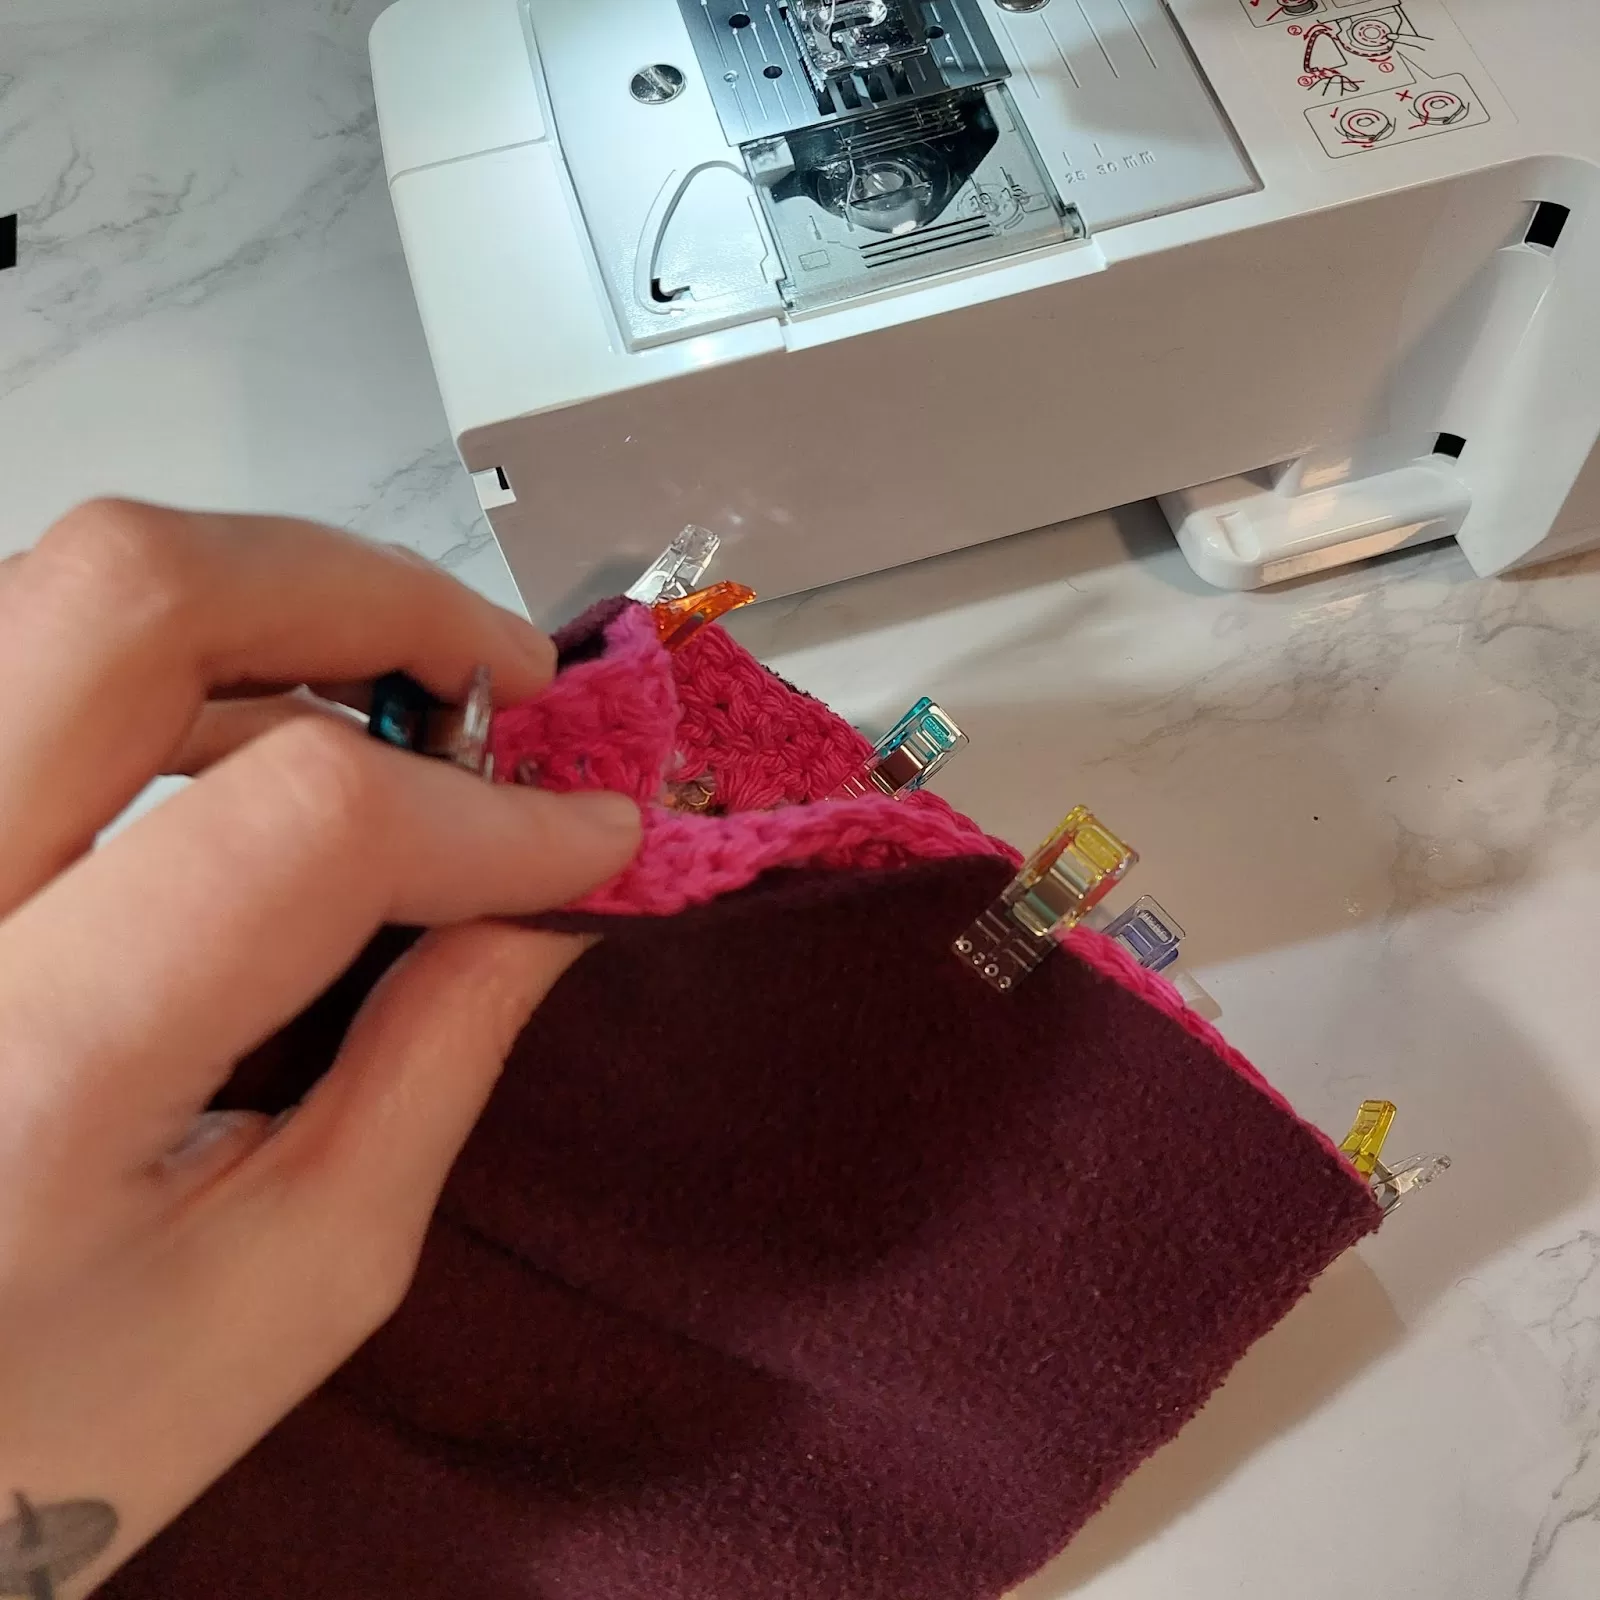
Step 5: Position the lower sleeve around the sleeve insert. The lower sleeve should be inside out and the sleeve insert should be right side out. Pin the two pieces together and sew around.
Step 6: Unfold the lower sleeve to reveal your newly lengthened sleeve complete with a cute crochet sleeve insert!
Repeat steps for the other arm.
For added durability, you may want to blanket stitch the sewn seams.
Is it time for a selfie now? I think yes. 🙂
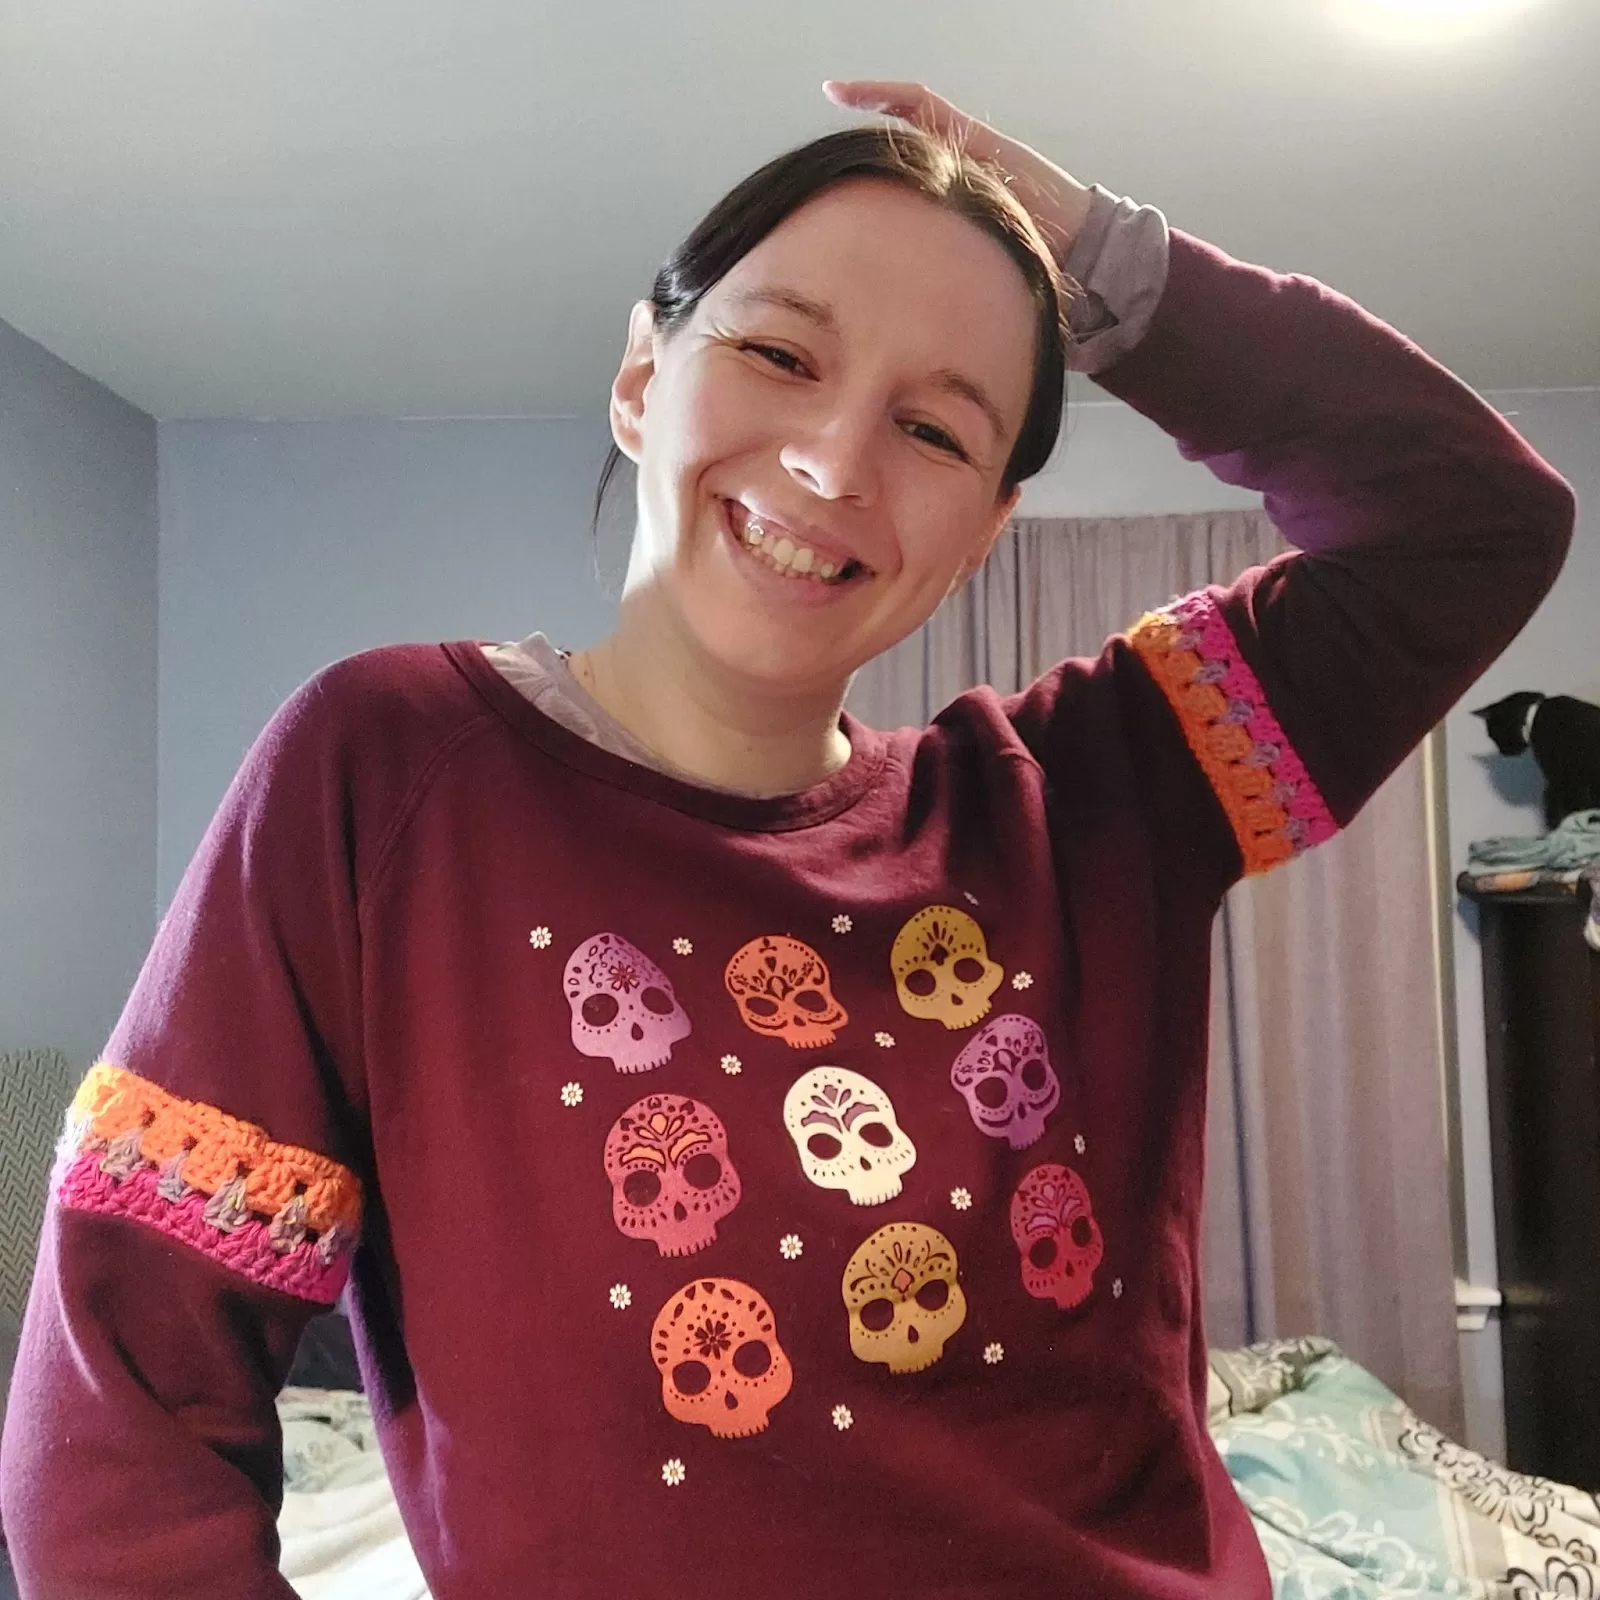
Crochet life hacks like this one are just one of the many reasons I love being able to crochet! I was contemplating donating this sweater but I’m glad that I was able to fix it to fit better instead and give it a second life. I’ll be wearing this sweater a lot more from now on!
__________________________
Love this free crochet pattern? You might like these other free crochet patterns!
© 2025 Littlejohn’s Yarn. All rights reserved.
Originally designed by Nine Inspired, this pattern has found a new home with Littlejohn’s Yarn and is shared here with permission.