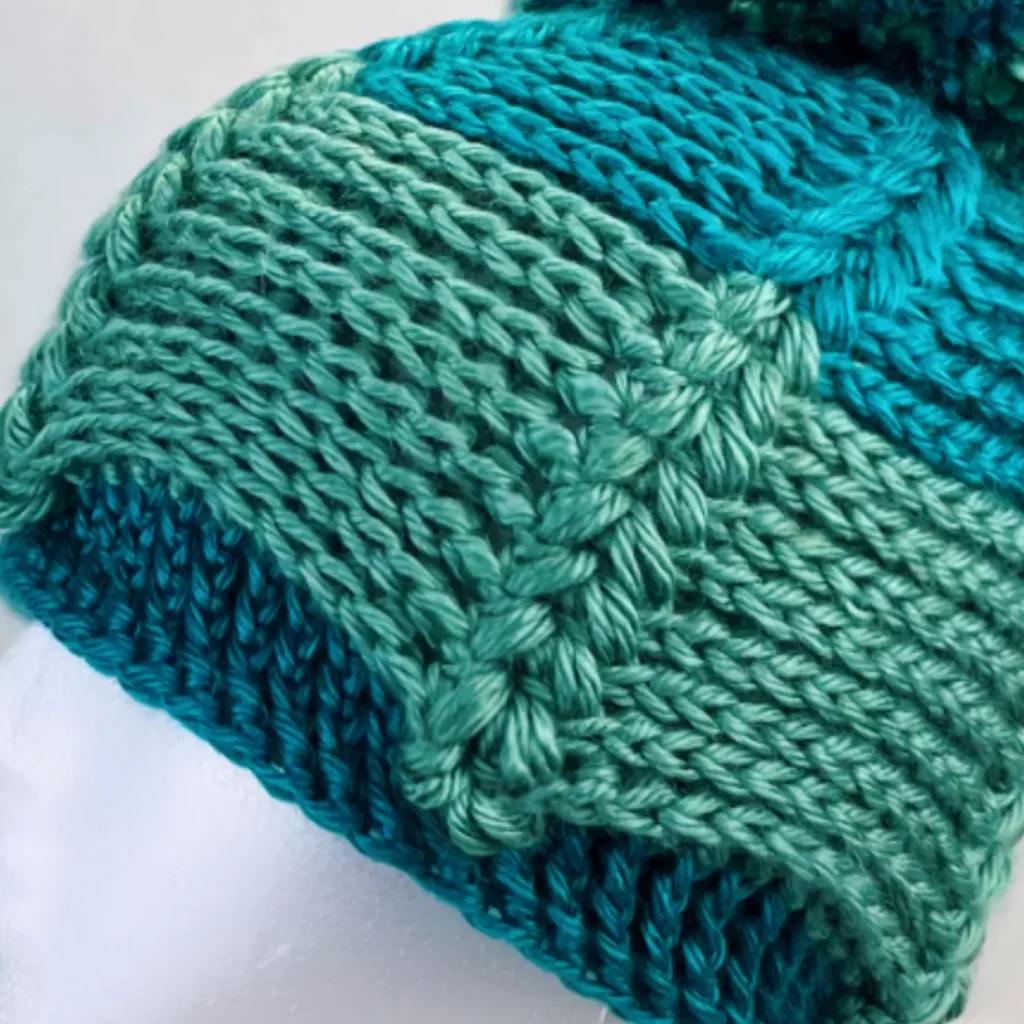
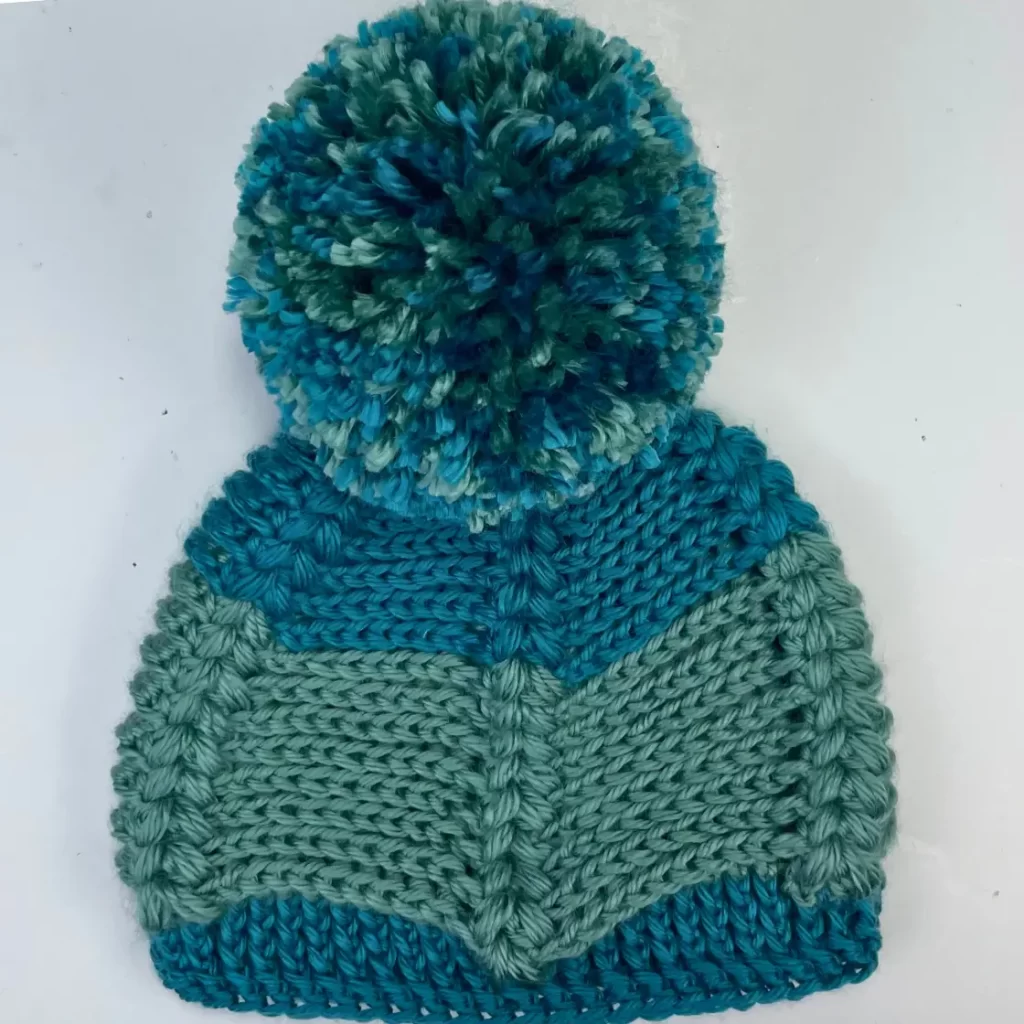
Keep yourself warm with the Winter Waves Beanie. It’s a textured crochet beanie that is made with crochet puff and post stitches. It perfectly completes your winter look. Stand out from the rest with this crochet puff stitch hat pattern.
I combined crochet post stitches and puff stitches to create a striking, layered texture. This beanie design is sure to please an intermediate and seasoned crocheters alike.
YouTube Tutorial
In addition to the pattern, a detailed instructional video will be provided for those who want to follow along as you make your own version of Winter Waves Beanie. This video is very helpful for those who are beginners in crocheting post stitches or puff stitches, making hard parts easy to understand and follow.
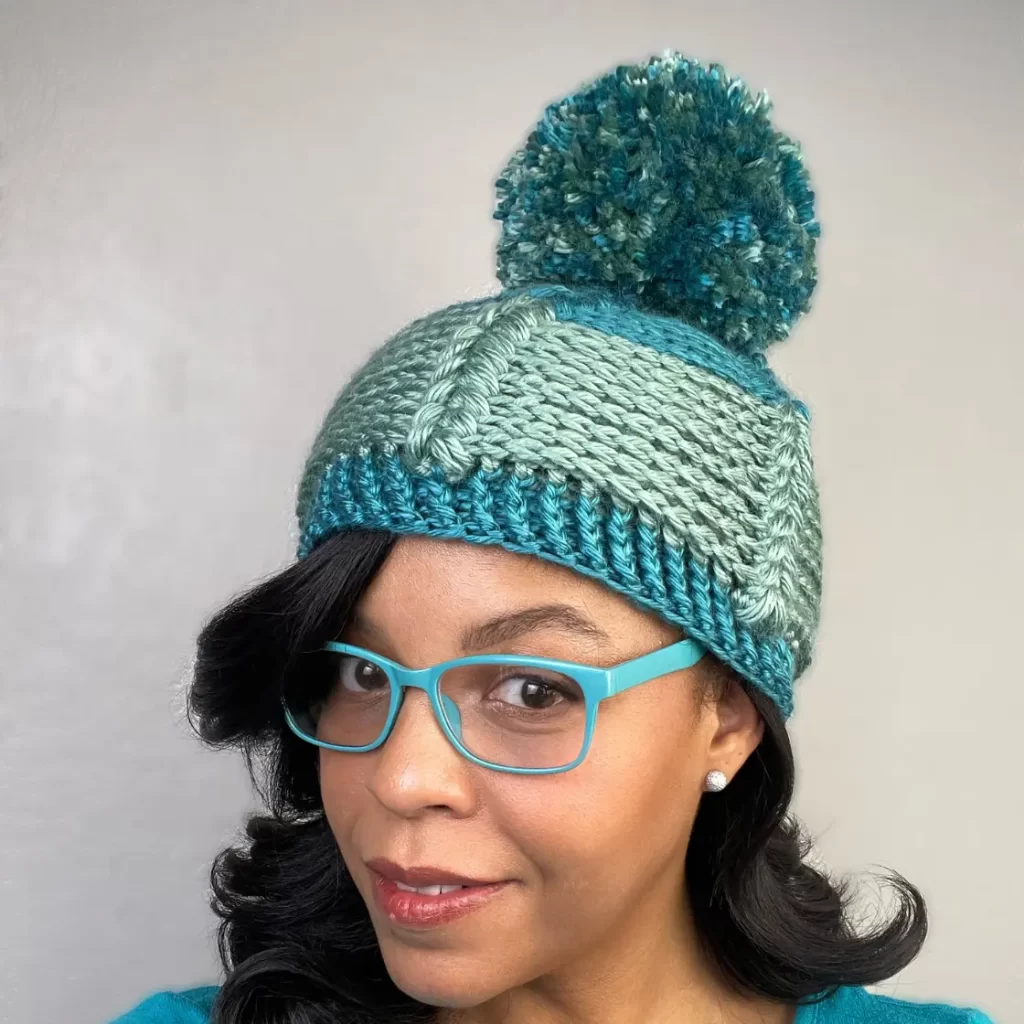
The Winter Waves beanie is made with Furls Wander acrylic yarn in icy colors such as, Atlantis and Tundra, which invoke a calm beauty of icy landscapes. These colors make a beautiful, wintry statement that highlights the texture perfectly.
About the Yarn
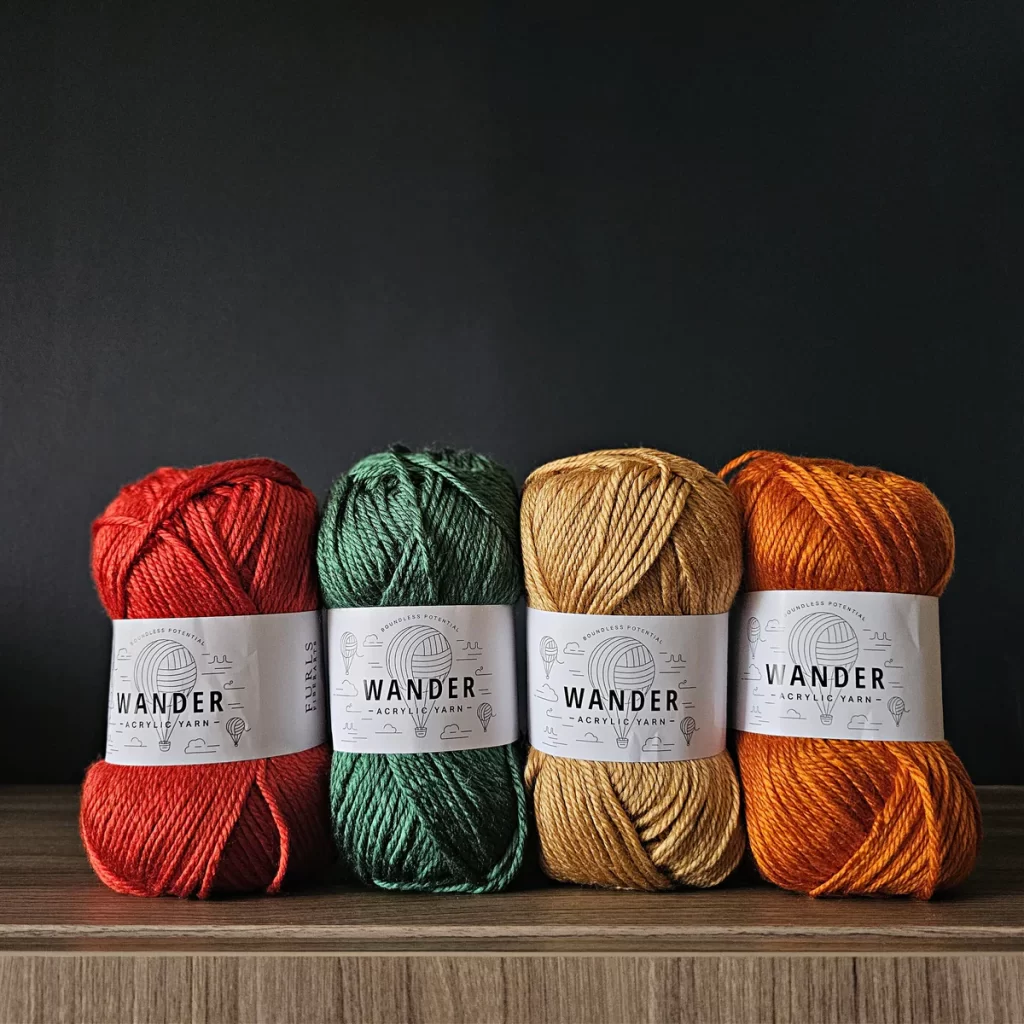
This beanie uses Wander acrylic yarn by Furls in the colors Atlantis and Tundra. Known for its luster, soft feel and vibrant colors, Wander yarn offers great stitch definition, allowing the puff and post stitches to shine.
- Get the ad-free, large print, printable PDF pattern HERE. Scroll down for the free version
- Grab the Ultimate Pattern Bundle that includes 40 of my patterns just like this one for under $20 HERE.
- Add this pattern to your Ravelry queue HERE.

Start crafting the Winter Waves Crochet Puff Stitch Beanie today and add a beautiful, handmade accessory to your winter collection!
Materials
Wander, worsted weight yarn in the colors Atlantis (A) and Tundra (B) – 300 yards
Stitches (US Crochet Terms)
Ch – Chain
Sl st – Slip Stitch
Dc – Double Crochet
Bpdc – Back Post Double Crochet
Fpdc – Front Post Double Crochet
Rep – Repeat
Special Stitches
Puff – *yarn over, insert hook into indicated stitch and pull up a loop, rep from * 2 more times (7 loops on hook) yarn over and pull through all 7 loops on your hook
V-puff – (Puff, ch1, puff, ch 1) in same space
Gauge
4 pattern rounds = 4 in.
Pattern
Magic ring or ch 4, sl st to 1st ch to form a ring.
R1: Ch 1, (Dc, v-puff) 5 times, sl st to join. (10)(video 0:58)
R2: Ch 1, *2 bpdc next st, v-puff between previous v-puff, rep from * around, sl st to join (15)(3:46)
R3: Ch 1, *2 bpdc next st, bpdc next st, v-puff between previous v-puff, rep from * around, sl st to join. (20)(6:52)
R4: Ch 1, *2 bpdc next st, bpdc next 2 sts, v-puff between previous v-puff, rep from * around, sl st to join. (25)(10:11)
R5: Ch 1, *2 bpdc next st, bpdc next 3 sts, v-puff between previous v-puff, rep from * around, sl st to join. (30)(14:00)
R6: Ch 1, *2 bpdc next st, bpdc next 4 sts, v-puff between previous v-puff, rep from * around, sl st to join. (35)(16:43)
R7: Ch 1, *2 bpdc next st, bpdc next 5 sts, v-puff between previous v-puff, rep from * around, sl st to join. (40)
R8: Ch 1, *2 bpdc next st, bpdc next 6 sts, v-puff between previous v-puff, rep from * around, sl st to join. (45)
R9: Ch 1, *2 bpdc next st, bpdc next 7 sts, v-puff between previous v-puff, rep from * around, sl st to join. (50)
R10-18 B: Ch 1, *bpdc next 9 sts, v-puff between previous v-puff, rep from * around, sl st to join. (17:36)
R19: Ch 1, *fpdc next 9 sts, dc between previous v-puff, rep from * around, sl st to join. (18:56)
R20-22: Ch 1, fpdc each st around, sl st to join. Fasten off. (20:40)
If you enjoyed this crochet hat pattern, then you’ll want to check out my other one HERE.
Happy Crocheting!
Psst… If you love free crochet patterns (who doesn’t???) make sure to follow the blog on Facebook, Instagram, YouTube, or Pinterest! Littlejohn’s Yarn posts original designs and free crochet pattern round-ups often for you to enjoy


