
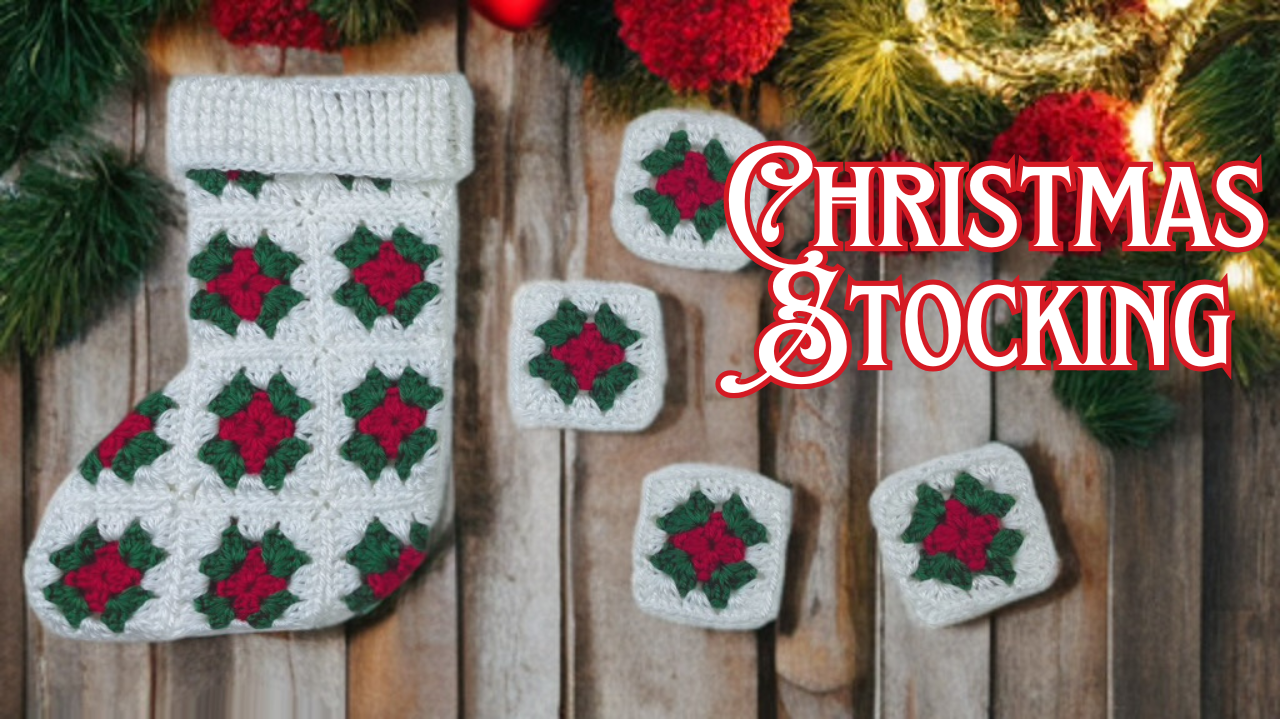
There’s nothing better than a handmade Christmas stocking hanging by the fireplace, and this Mistletoe Christmas Stocking is the perfect project to get you into the holiday spirit. Designed with bold granny squares and a classic folded cuff, this stocking works up quickly and adds a cozy pop of color to your holiday décor. Whether you’re making a set for the whole family or gifting one to a friend, this stocking is sure to become a treasured keepsake.
This free pattern includes written instructions, photo guidance through the layout, and a full step-by-step video tutorial. If you love bold, traditional Christmas colors and relaxing crochet projects, you’re going to enjoy this one.
Materials
For this stocking, I used three skeins of Caron Simply Soft, which gives the piece beautiful drape and shine. You’ll also need a 5 mm crochet hook, a yarn needle for sewing your squares together, and scissors for finishing. The stitches are simple and beginner-friendly, making this a great project to work on while watching your favorite holiday movies.
- Get the ad-free, large print, printable PDF pattern HERE. Scroll down for the free version.
- Add this pattern to your Ravelry queue HERE.
Video Tutorial (written pattern below)
If you’re more of a visual learner, follow along with the complete step-by-step video tutorial. The video walks you through every part of the stocking, including the granny squares, layout, folding, assembly, and the ribbed cuff. It’s perfect if you want to crochet along in real time or double-check your square placement.
Materials
3 skeins Caron Simply Soft
5 mm Hook
Needle
Scissors
Stitches
Ch- Chain
Dc- Double Crochet
Fpdc- Front Post Double Crochet
Gauge
Finished Size
12 in 30 cm
Note- when changing colors between rows, attach yarn to any ch-1 space
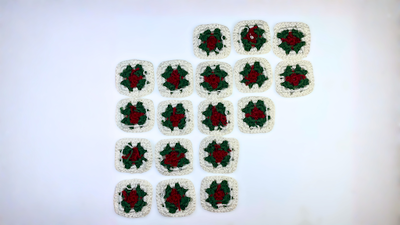
18 squares
Color A, Magic Circle
Round 1: Ch 3 (counts as dc throughout), 2 dc in ring, ch 1, (3 dc, ch 1), in ring 3 times, sl st top of ch-3 st to join (4 clusters)(video 0:56)
Round 2 (Color B): (Ch 3, 2 dc, ch 1, 3 dc) in ch-1 sp, *(3 dc, ch 1, 3 dc) in ch-1 sp, rep from* around, sl st to the top of the ch-3 st. (8 clusters)(video 2:06)
Round 3 (Color C): (Ch 3, 2 dc, ch 1, 3 dc) in ch-1 sp, 3 dc next side sp, *(3 dc, ch 1, 3 dc) in ch-1 sp, 3 dc next side sp, rep from * around, sl st to the top of ch-3 st. (12 clusters)(video 5:04)
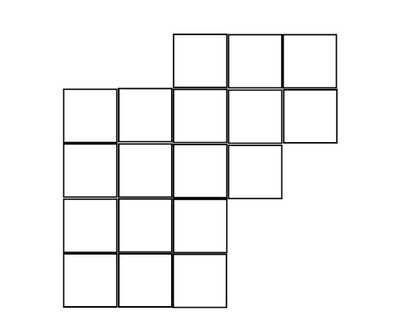
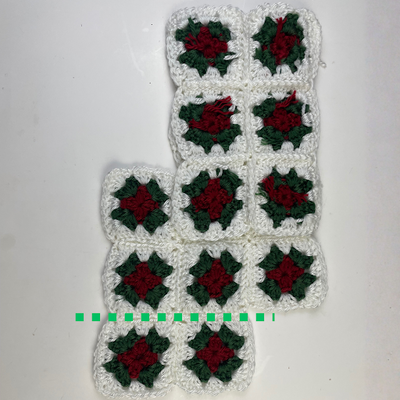
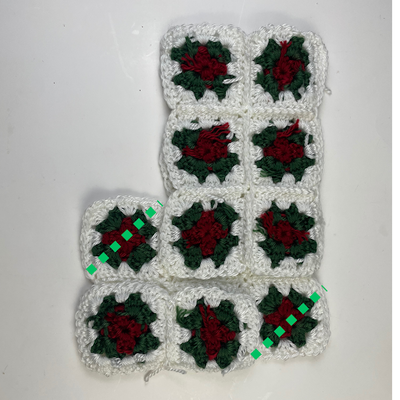
Layout & Assembly
The squares are sewn or slip stitched together following the layout shown in the diagram below & video tutorial. Once all squares are joined, the panel is folded to form the shape of the stocking. If you’ve never built a stocking from squares before, don’t worry—the video shows exactly how to fold and seam your panel into shape. (video 9:15)
Once the squares are joined, fold the panel according to the steps below.
1.
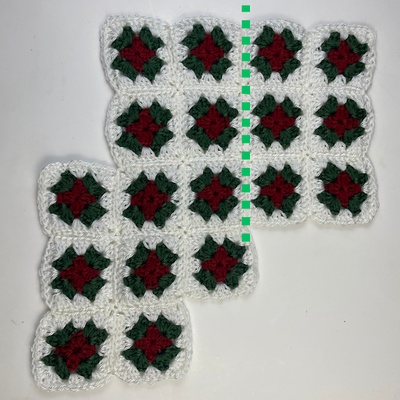
2.
3.
4.
Stocking Cuff
With the stocking body complete, attach your yarn to the back of the stocking’s opening to begin the cuff. This helps keep the seam discreet.
Attach yarn to the back of the stocking opening.
Round 1: Ch 1, dc each st around, sl st to join.
Round 2-6: Ch 1, fpdc in each st around, sl st to join.
Fold the cuff over for that classic Christmas stocking look.
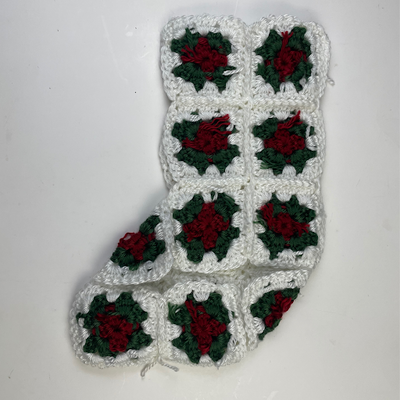
Your Stocking Is Complete
That’s all there is to it! A festive, heirloom-style stocking created from simple squares and a textured cuff. This pattern is easy to customize with different color combos, sparkly yarn, or even appliqués. Make a matching set for the whole family or gift one filled with treats and small handmade goodies.
If you enjoyed this pattern, be sure to subscribe to my Littlejohn’s Yarn YouTube channel for more crochet tutorials, tips, and fun holiday projects like these!
Let me know if you’d like Pinterest pin descriptions, a YouTube title/description, an Etsy listing, Ravelry listing, or social media posts for this pattern too!